
new delivery times
Since April our world is upside down, because pur son was born! So there will be only one shipping day per way for a while.
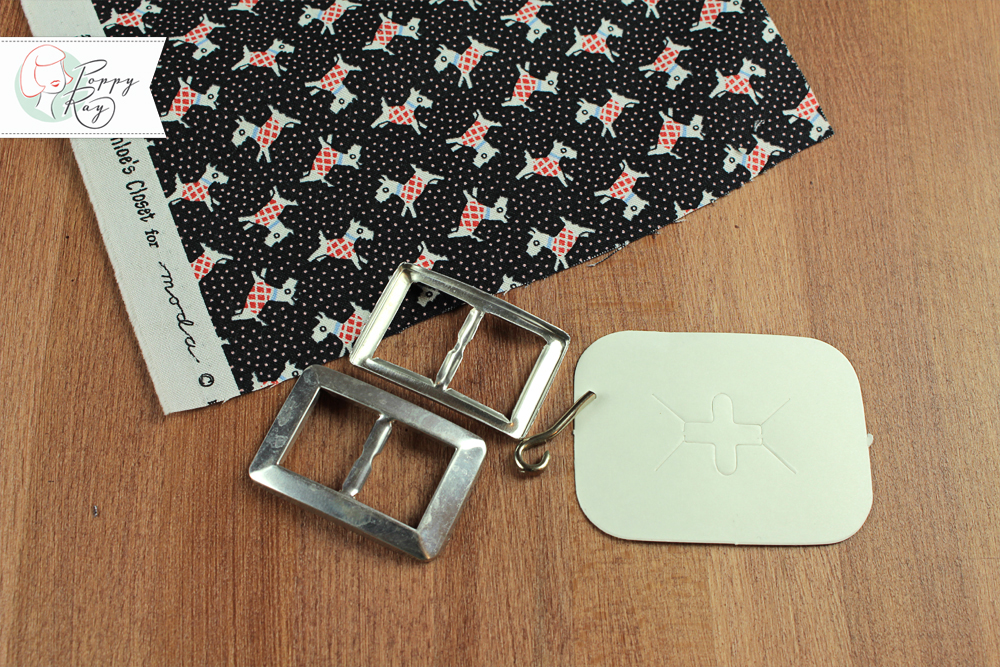
There is a new category in the shop: buckles to cover!
A great accessoires to complete your vintage inspired look. Here is a little tutorial to show you, that is quite easy to do with our buckle kits.
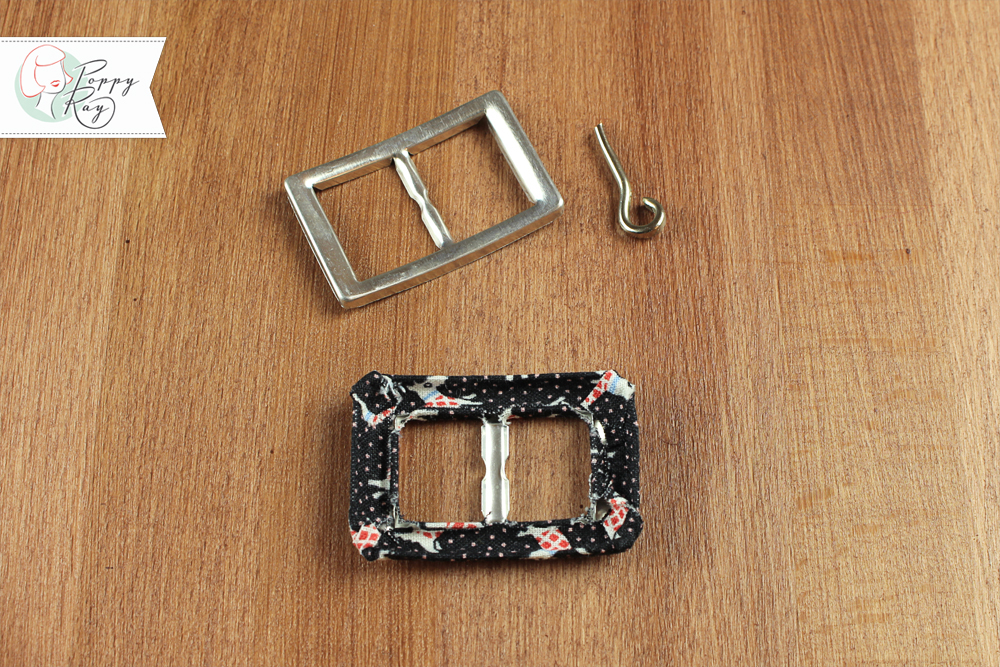
kit includes:
you will also need:
– fabric – a small scrap for the buckle, one piece 1x length of your belt/2x width of your belt+ seam allowance (just take one of your belts as reference)
– interfacing, length x width of your belt
– eyelets
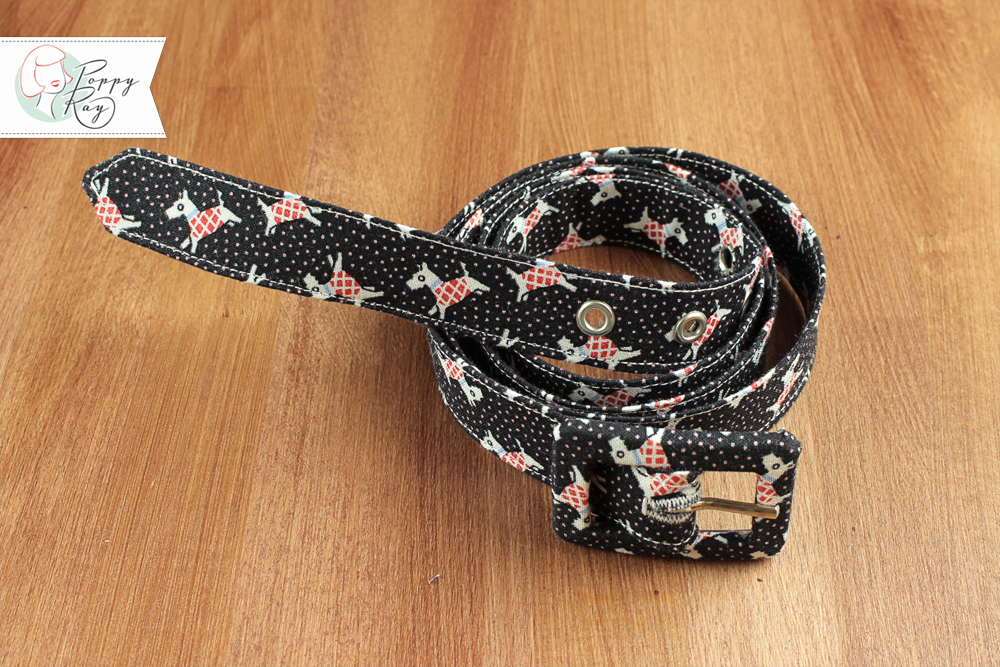
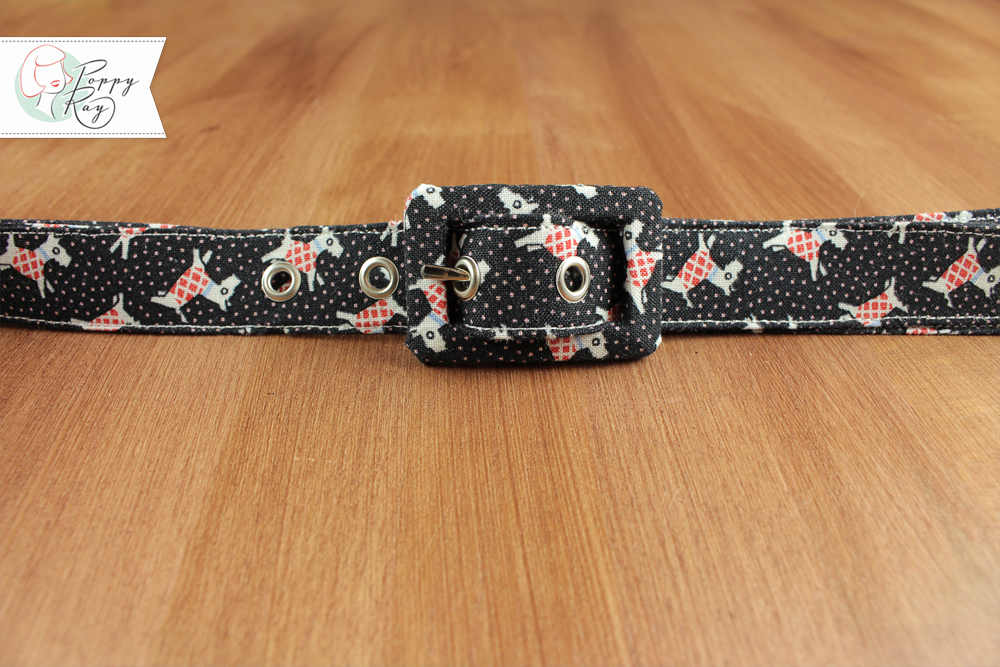
I am making a Scottie belt.
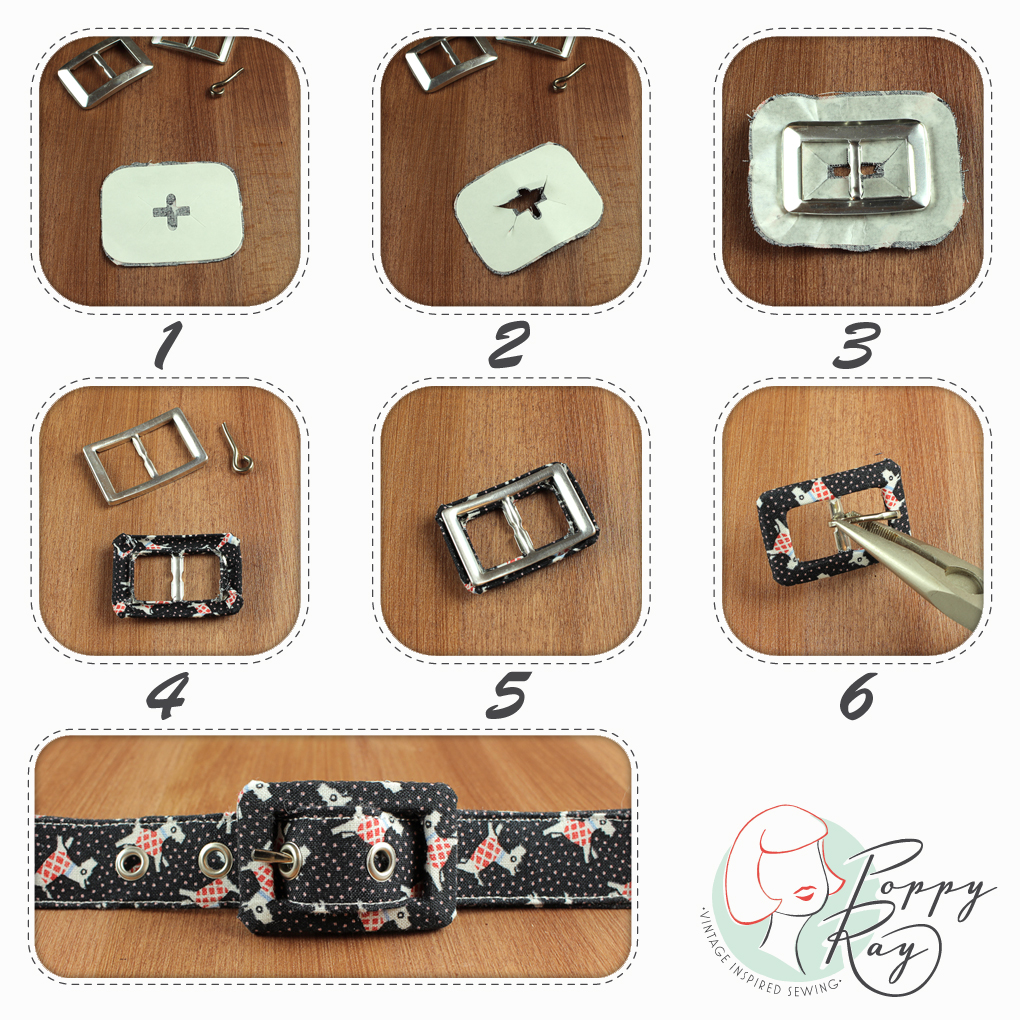
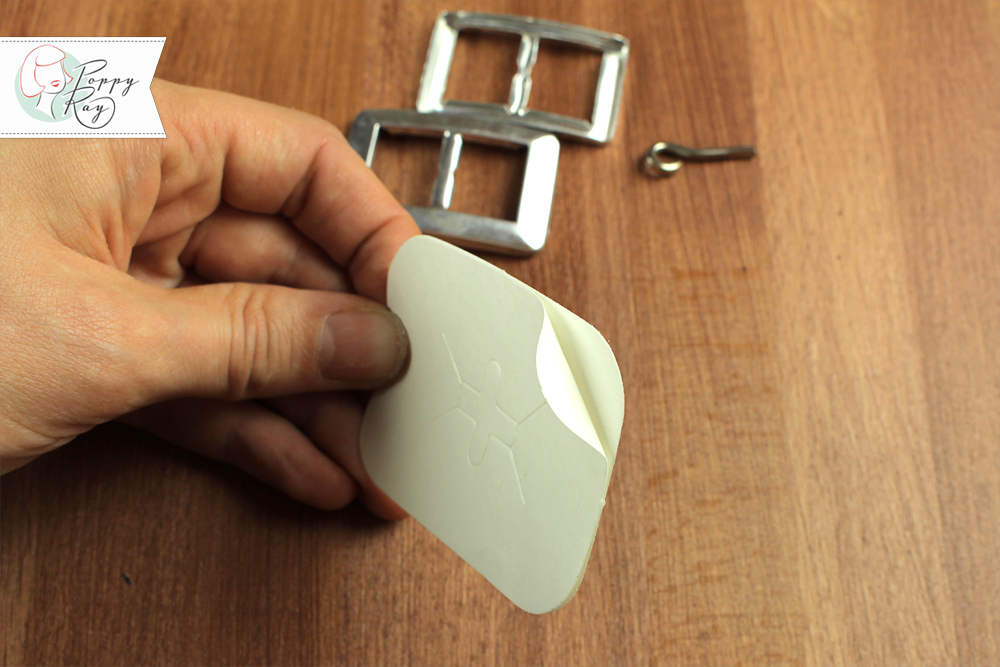
I start with the buckle. The template is made of double faced adhesive tape. I remove the paper on one side.
I put the template on my fabric scraps and cut it in shape.
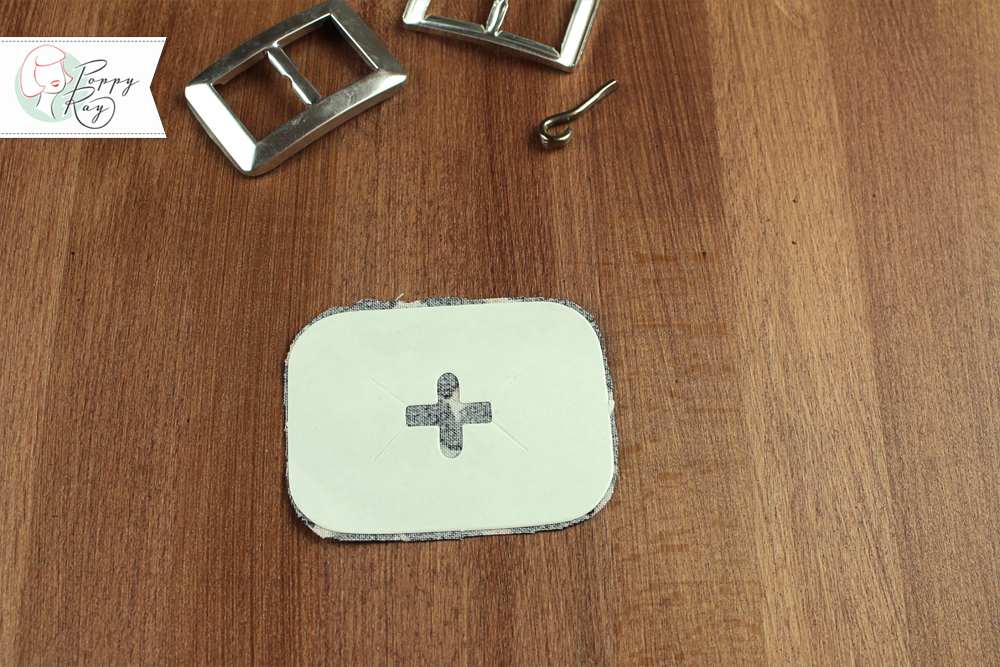
I cut the corss in the middle and also the little slits on the side.

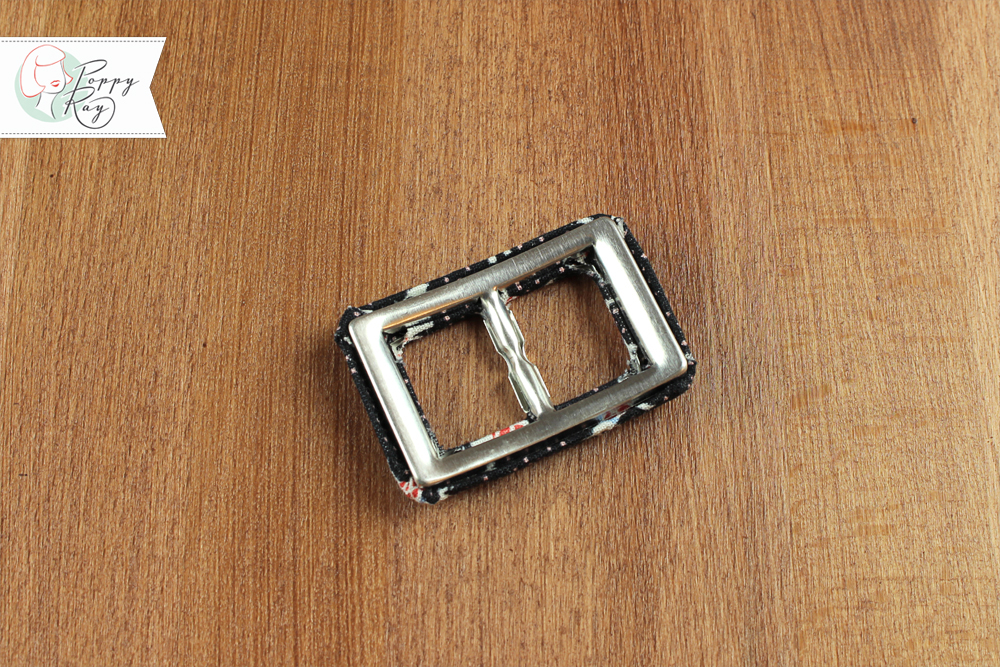
I remove the second paper and put the buckle on my fabric.

A little advice: cut little slots on the corner, so it’s easier to work accurate. Now I just fold the fabric inside.
You can put some glue on the backside of the buckle. But it also works without.
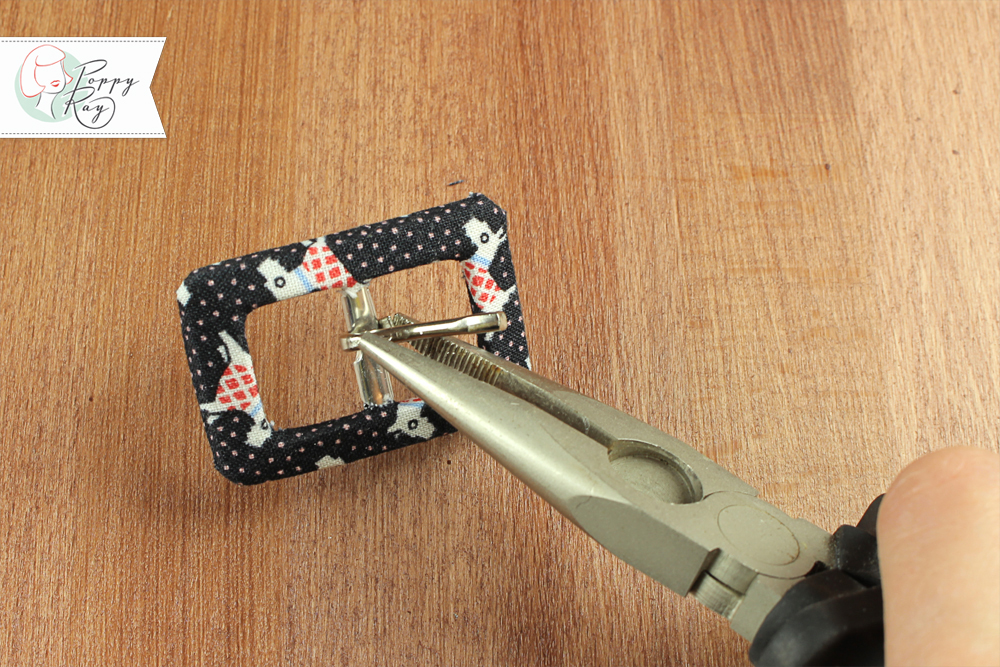
For the tong I use some pliers. Don’t push too hard, the metal in the middle is quite fragile. So please be careful.
Now I am making my belt. My waist is 80cm, so I use a piece of fabric by the length of 110cm. The width depends on the width of the buckle. In this case it is 1,8cm .
So my piece of fabric is 110 x 4,6cm, my interfaciung 109 x 1,8cm.
I fold my fabric in the middle and iron it.
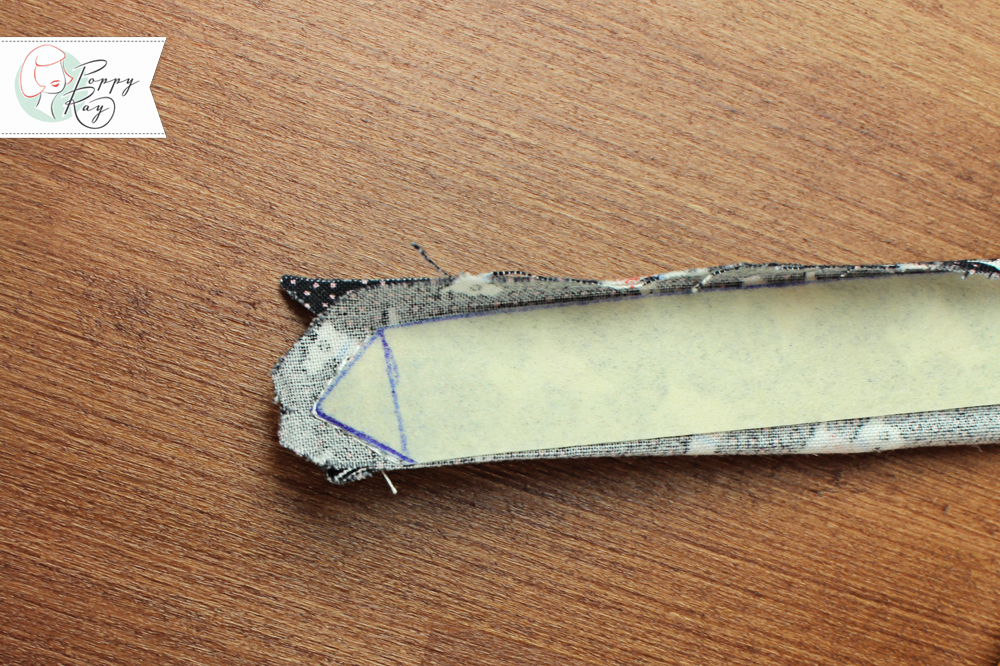
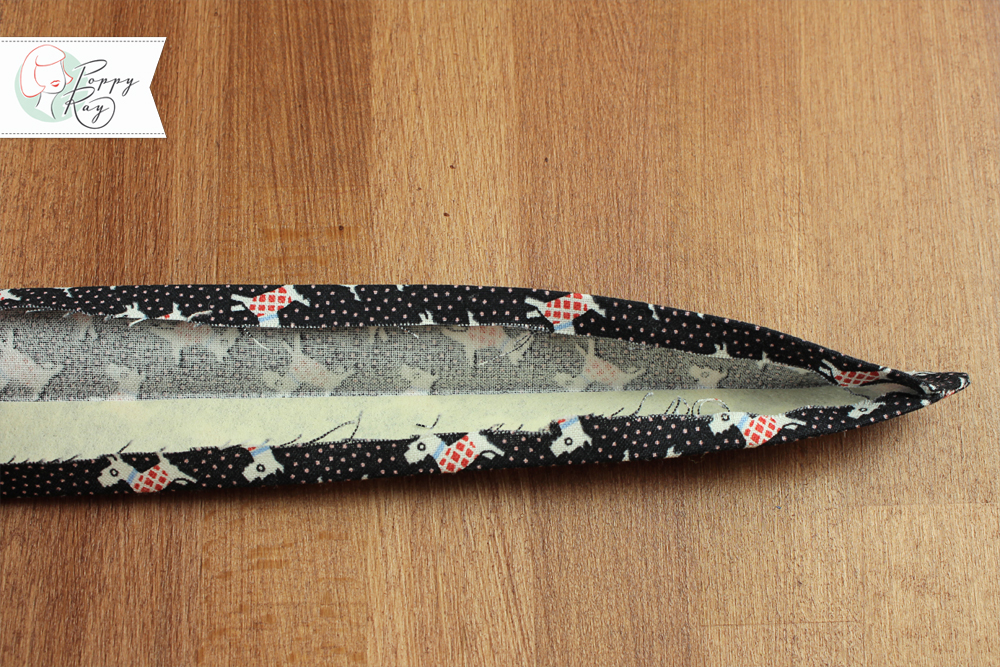
I want a pointed belt, so I cut my interfacing like this an iron it on the fabric. I sew just the pointed part and turn it on the right side.
I iron the seam allowance on both sides to the inside.
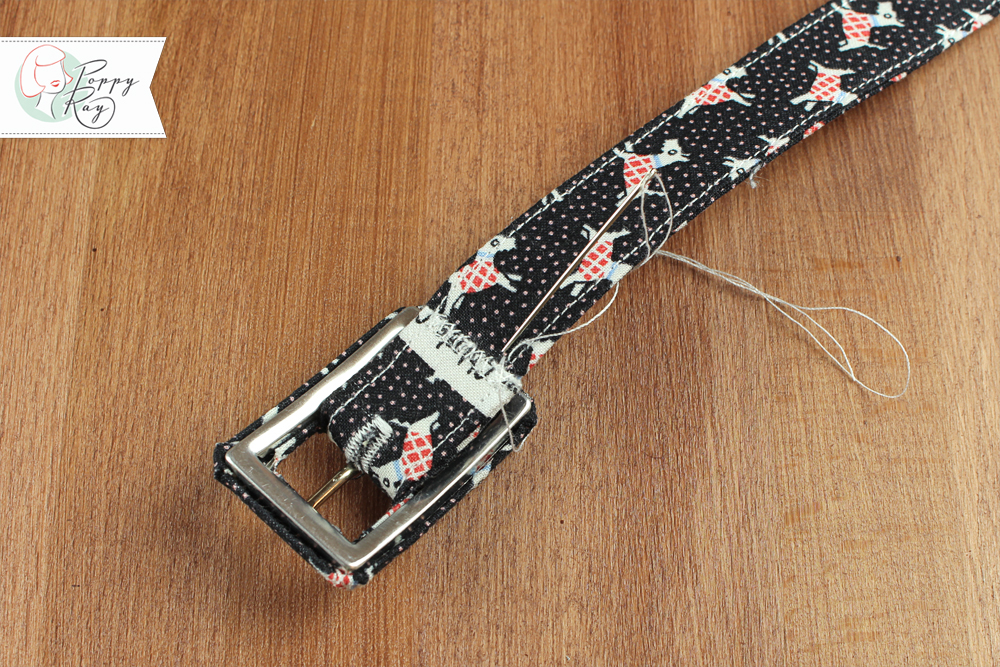
Now I sew the complete belt on the right side. I sew a little buttonhole on the end, to pull my tong through.
I turn the end over and sew it by hand, so you don’t see the stitches on the front.
At the end I only have to apply the eyletes and here is my new belt!
Since April our world is upside down, because pur son was born! So there will be only one shipping day per way for a while.

From Mid April we are going to have a baby break! The shop will be offline for a few weeks, but we plan to be
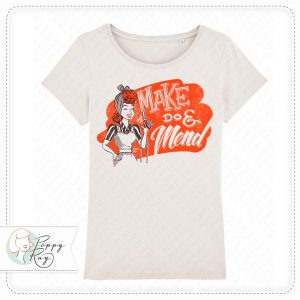
Pre-order your Shirt here Canadian artist Nathalie Rattner and Berlin based graphic designer St.Anchor Graphics designed another, beautiful shirt design for Poppy Ray! Make do
Durch die weitere Nutzung der Seite stimmst du der Verwendung von Cookies zu. Weitere Informationen
Die Cookie-Einstellungen auf dieser Website sind auf "Cookies zulassen" eingestellt, um das beste Surferlebnis zu ermöglichen. Wenn du diese Website ohne Änderung der Cookie-Einstellungen verwendest oder auf "Akzeptieren" klickst, erklärst du sich damit einverstanden.